
One layer, any finish: the grime & wear overlay library
Every finish in the library ships factory-fresh — and real products almost never are. They gather dust, catch mud on a site, rust at a scratched edge, film over with soot near an exhaust. So we built the wear as its own thing: 21 grime overlays that drop on top of any material without re-authoring a single base finish.
An overlay is a thin, mostly-transparent skin. It carries only a tint and a coverage map — the alpha channel decides where the grime sits and how thick it is. Lay it over polished chrome and you get dusty chrome; lay the same overlay over oak and you get dusty oak. One layer, every material underneath.
Twenty-one kinds of grime
Each tile below is the same neutral panel with one overlay dropped on top. They are grouped by what they stand in for; the small label is the procedural pattern that shapes the coverage — patches, speckle, streaks, splatter, crackle and so on.
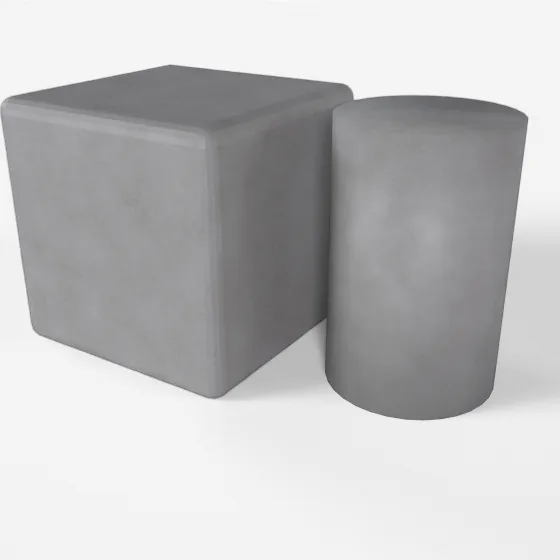
patches
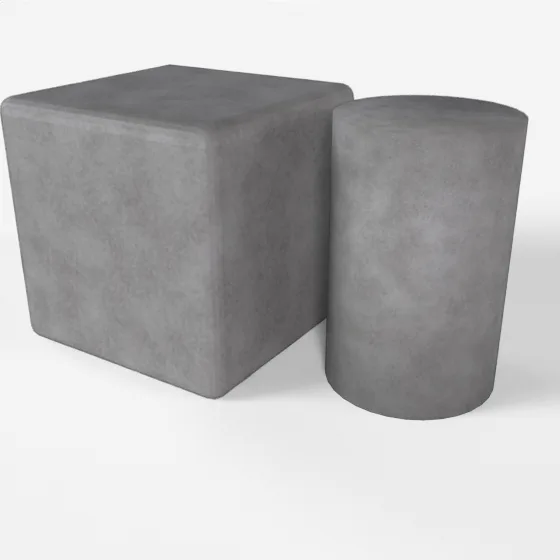
patches
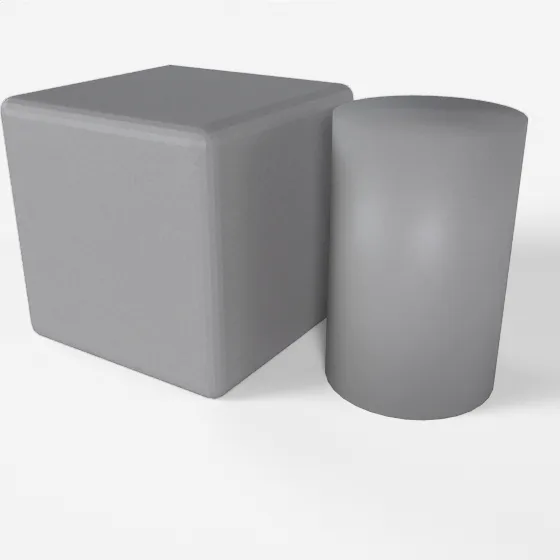
speckle
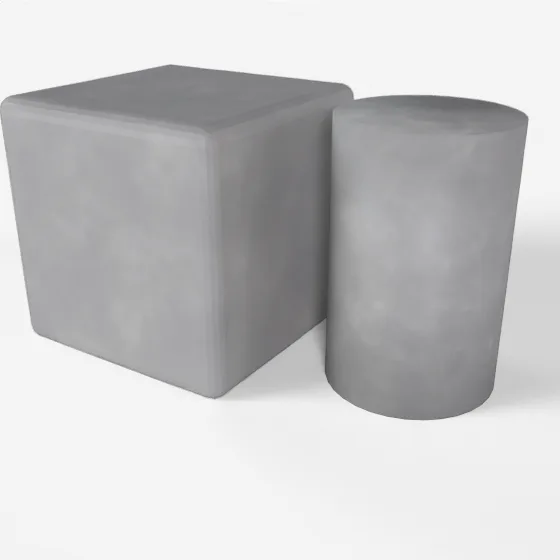
cloudy
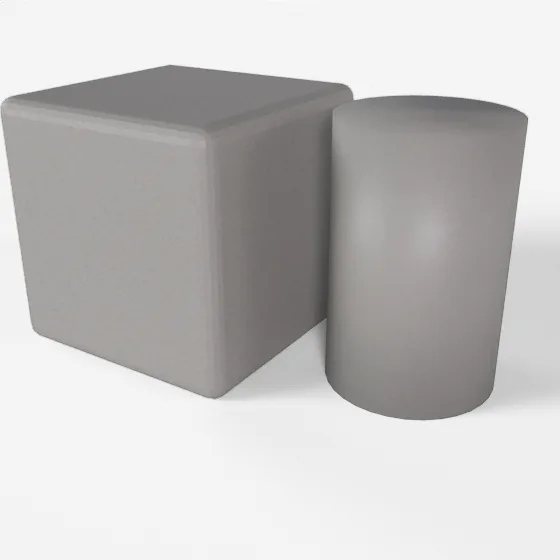
speckle
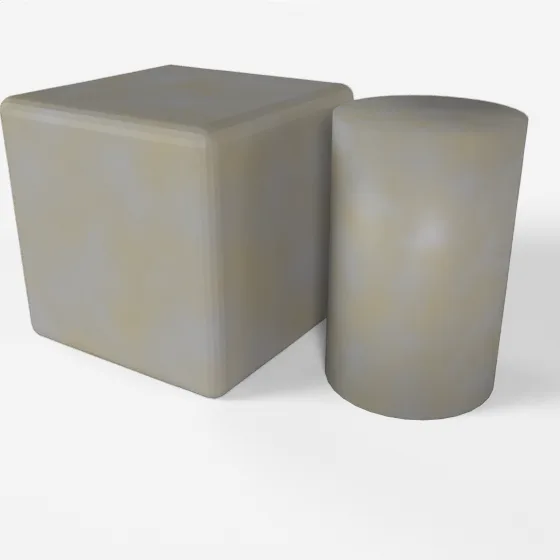
cloudy
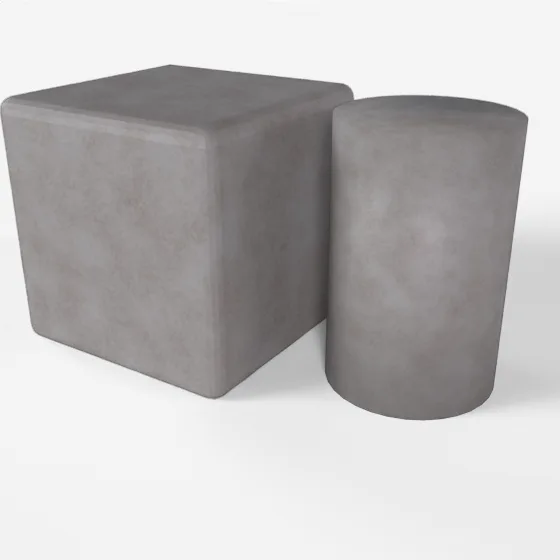
patches
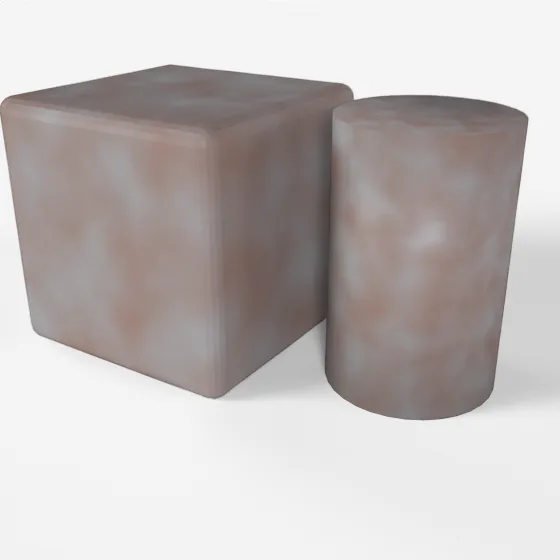
cloudy
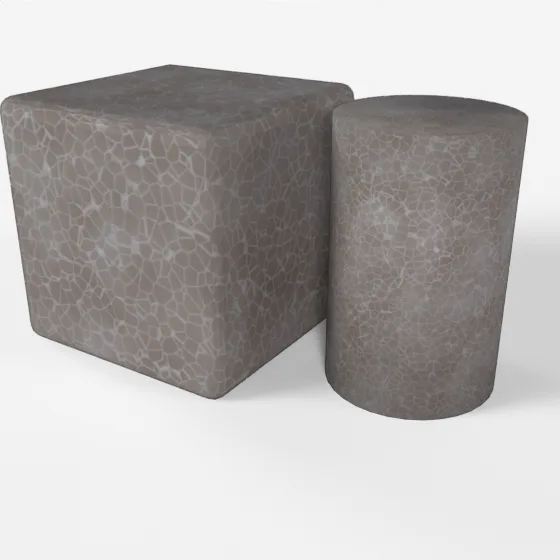
crackle
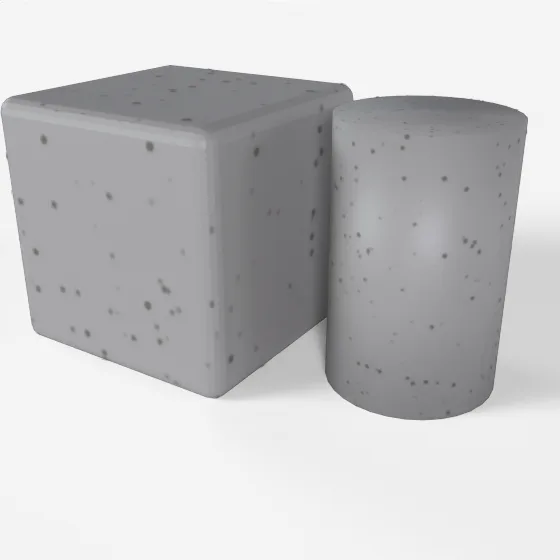
splatter
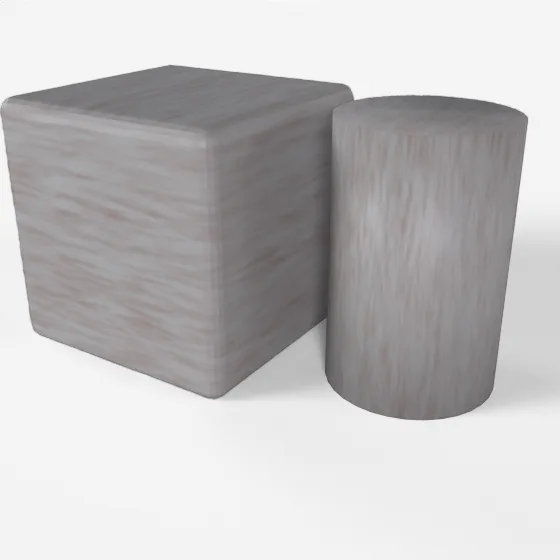
streaks
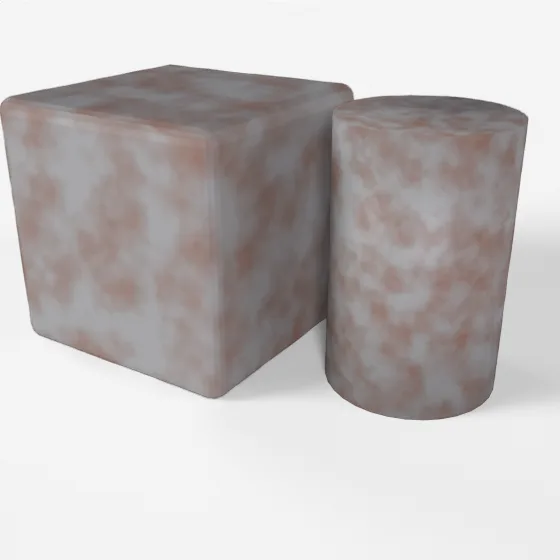
blotches
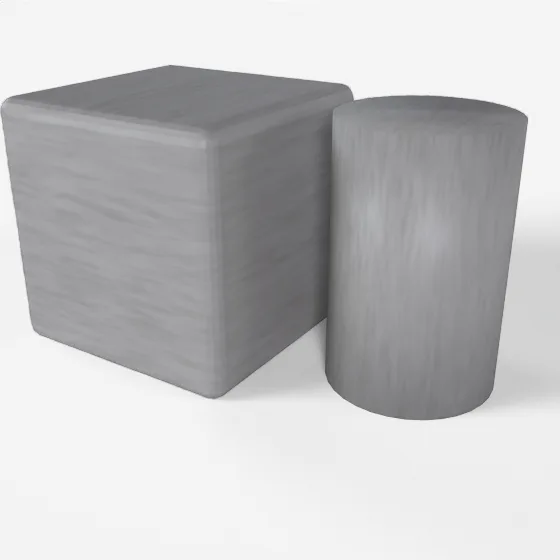
streaks
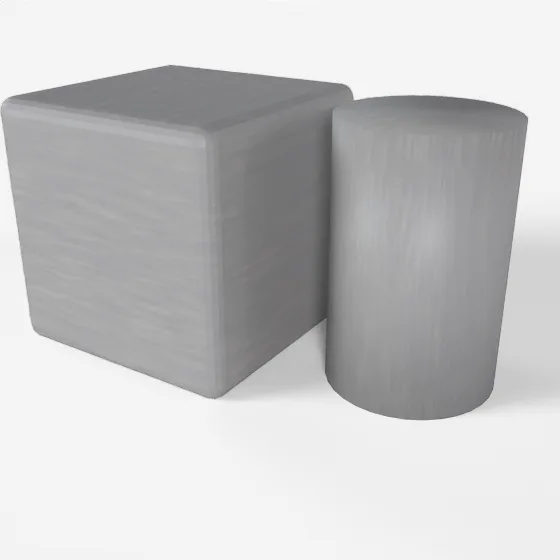
streaks
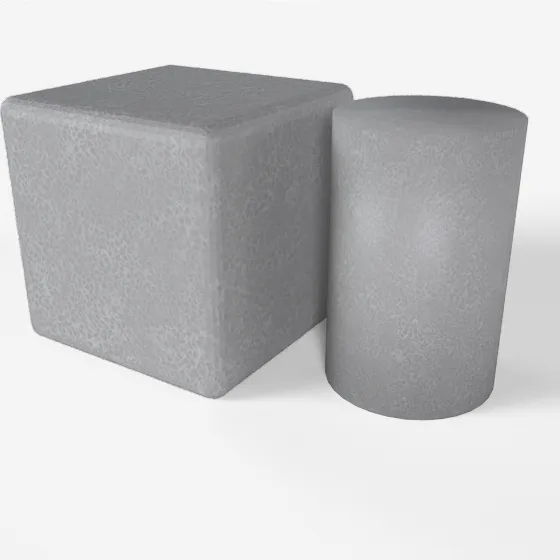
crystalline
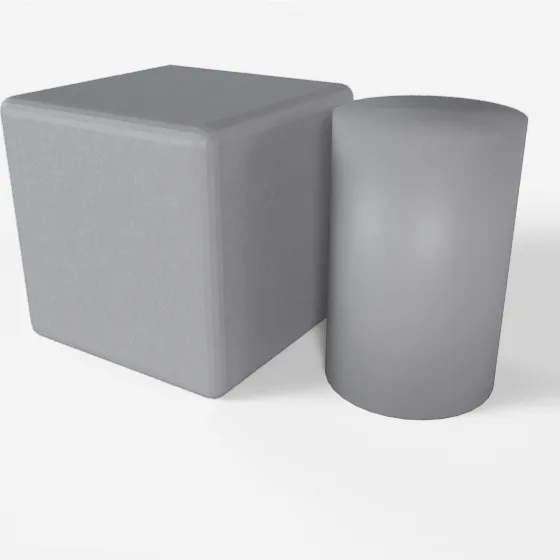
speckle
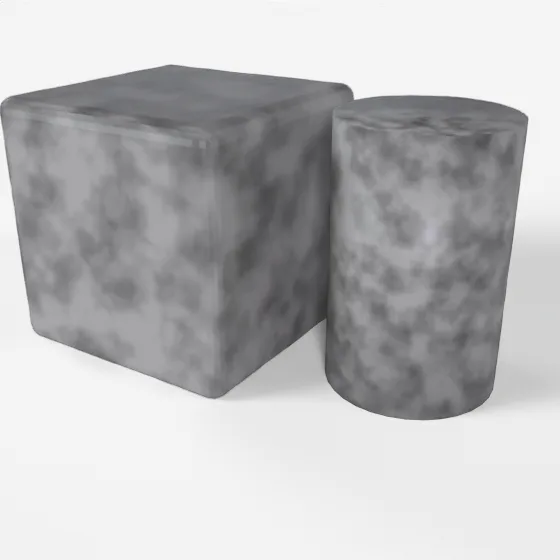
blotches
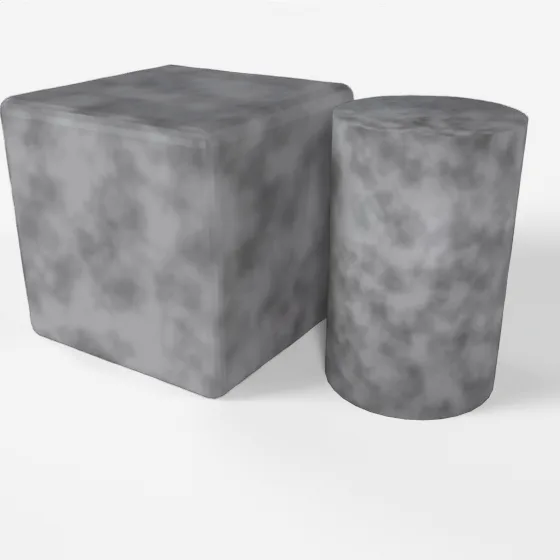
blotches
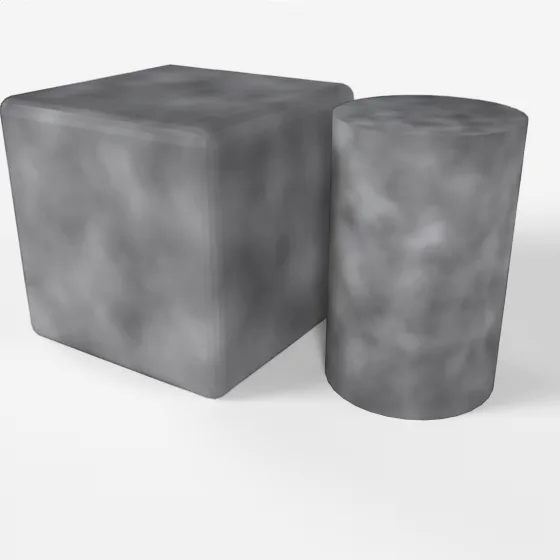
cloudy
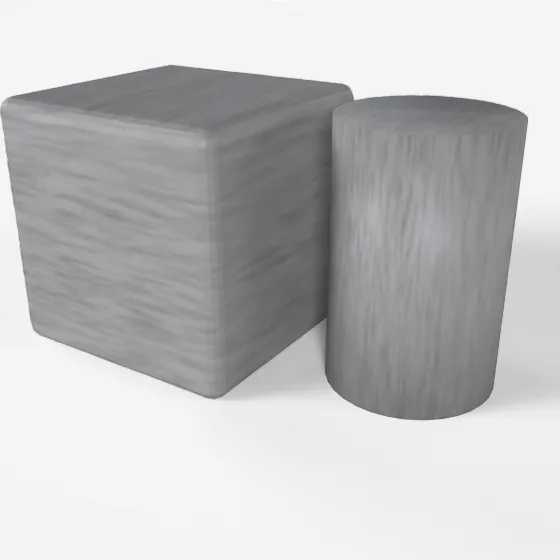
streaks
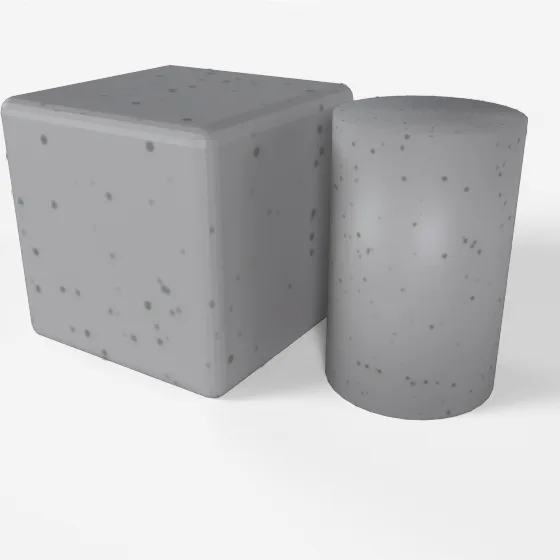
splatter
On real materials
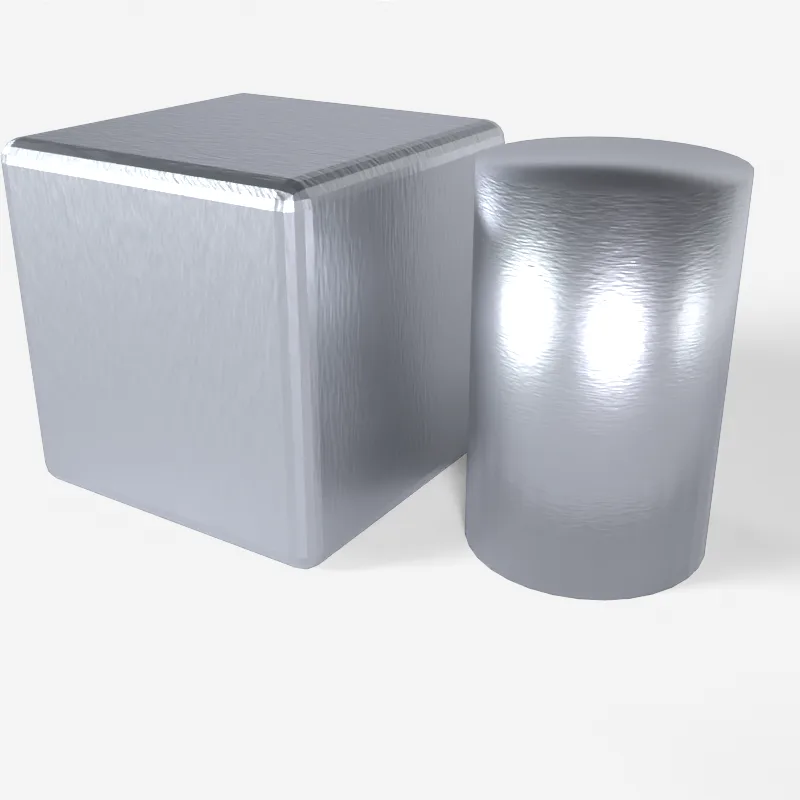
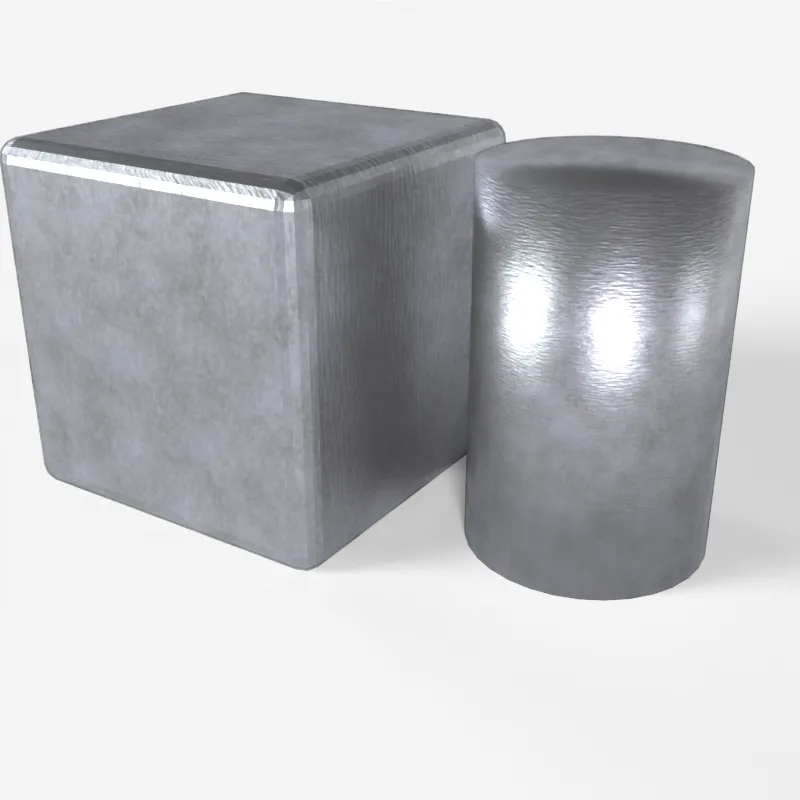
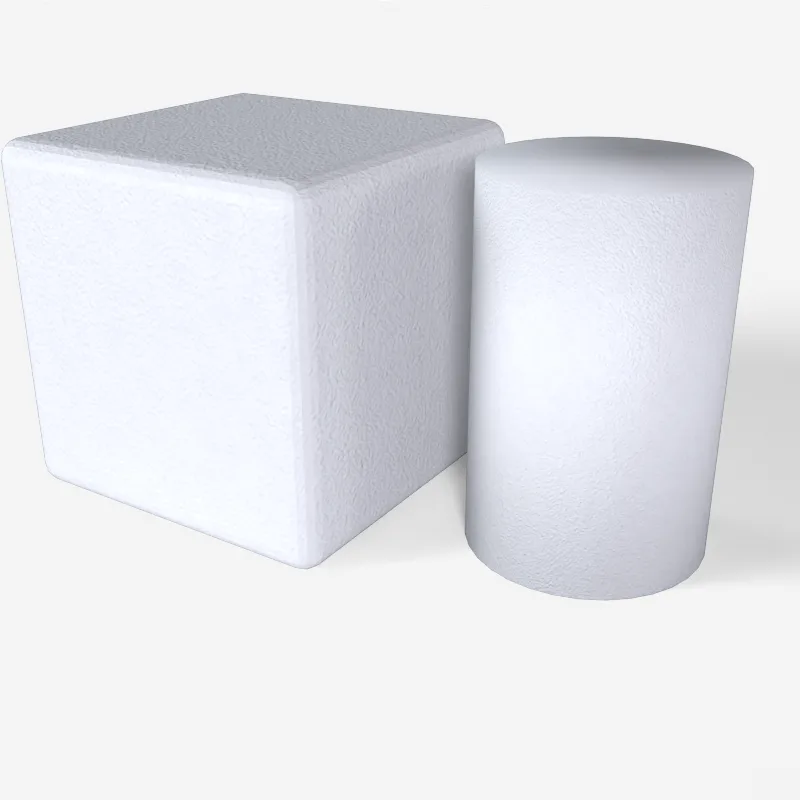
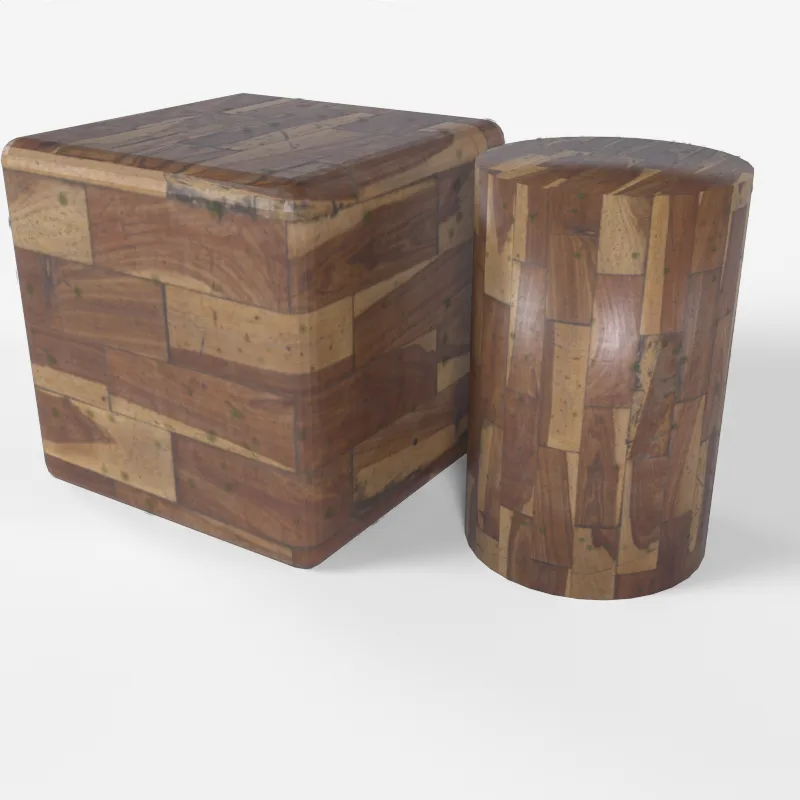
The point isn't the grime on its own — it's what it does to a finish you already sell. Same geometry, same lighting, same camera; the only change is one overlay dropped on top.
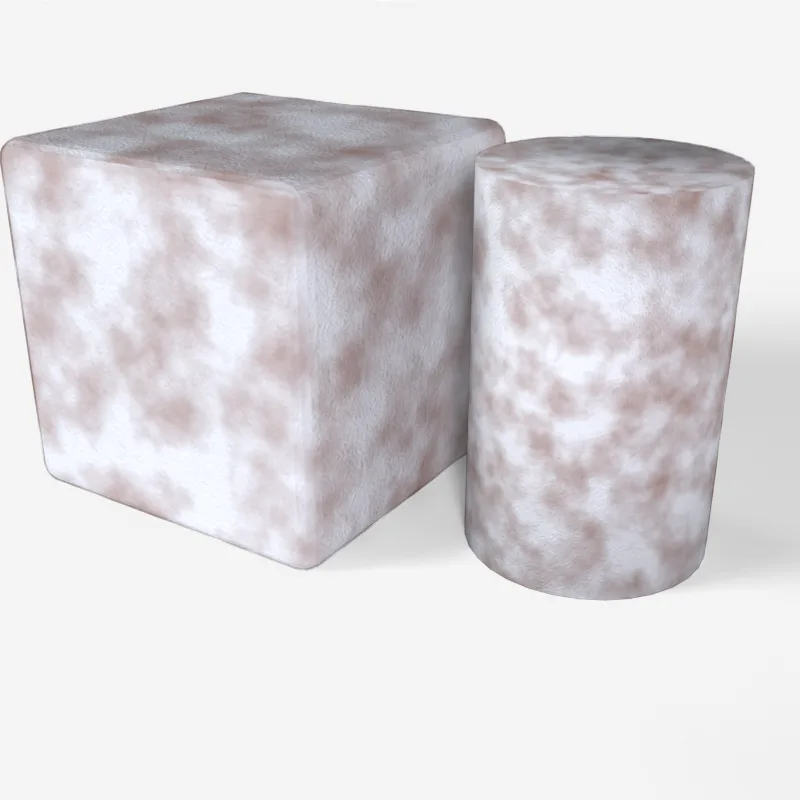
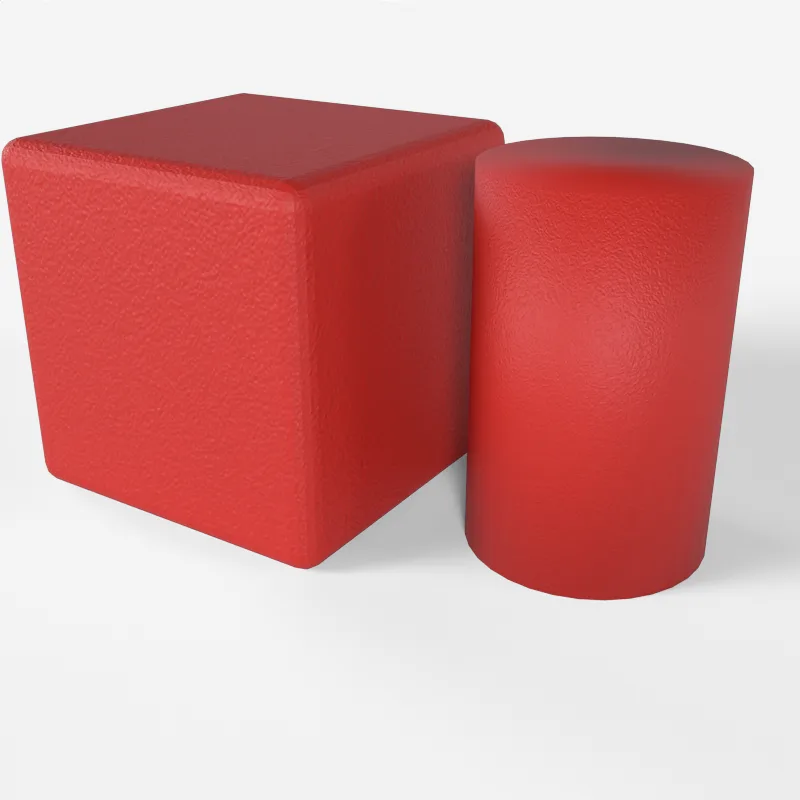
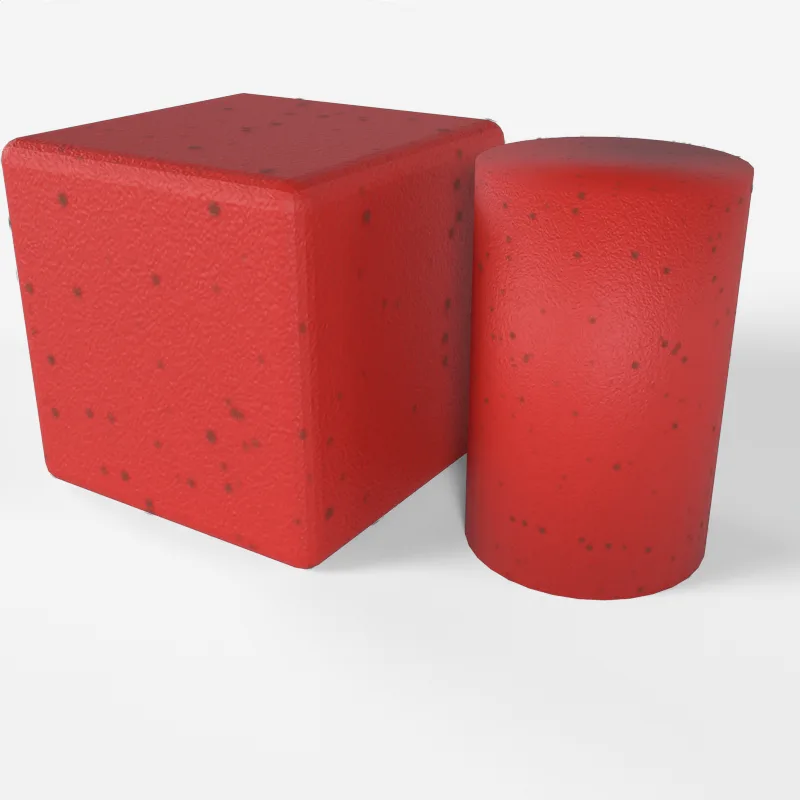
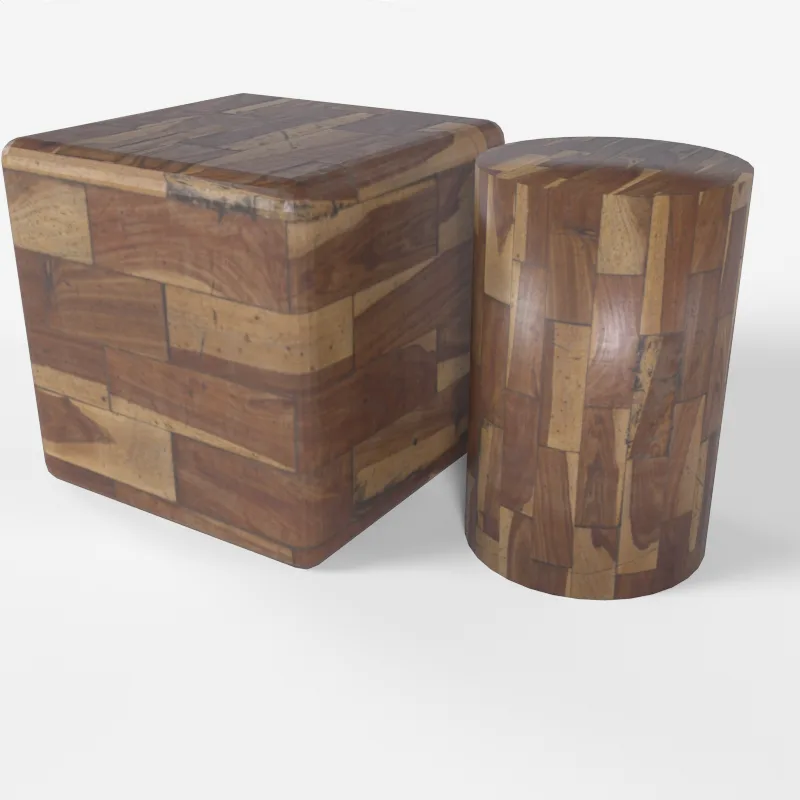
How stacking actually works
A PBR material is a single shader — one surface can't wear two finishes at once. So an overlay doesn't replace the base material; it rides on a second surface just above it. There are two ways to do that, and the library's overlays are built to suit both.
A grime shell you can toggle
Duplicate the surface into a thin transparent "shell" and give it the overlay material. Show or hide the shell at runtime and the product goes from new to weathered in an instant — exactly the move a configurator already makes to switch a colour. Each layer tiles independently, so grime density is set separately from the base.
A pre-weathered variant
Composite the overlay into a copy of the base once, and you get a single opaque "aged" material — no transparency to render, nothing to toggle. Ideal when a product is only ever shown in one condition, or for a fixed "as-delivered vs after 5 years" comparison.
Either way the overlay stays inside the library's web-safe budget: one texture, explicit BLEND alpha, ≤1024 px — the same rules every other material follows, so it exports to glTF and runs in a HiveCPQ / Verge3D configurator with no special handling.
Where it earns its keep
Weathering isn't only about looking real. In a configurator it's a lever:
- Sell the environment. Let a buyer preview their machine in their conditions — coastal salt, a dusty quarry, a wet site — not a showroom that flatters everything equally.
- Justify the upgrade. Put the untreated finish next to the coated one after the same wear. Rust streaks on the cheap option sell the protective coating better than a spec sheet.
- Set expectations honestly. An "as-delivered vs after a few seasons" toggle is a trust signal, and it heads off the "it didn't look like this" conversation later.
New is a finish. Worn is a layer. Keeping them separate means any product can be shown either way — without drawing a single extra texture.
Every overlay is procedural and CC0: no photo scans, generated from the same pattern recipe (a tint plus a seamless noise/Voronoi coverage mask) and validated to the same strict-glTF gate as the rest of the library. Browse them under Utility in the library.